Phase 4 — Daily administration#
11 lessons · Level: intermediate
This phase is the daily work: templates, packages, users, servers, migration, and backups.
What is in this phase#
| Lesson | What you learn |
|---|---|
| 1 — OS templates and media | Prepare templates, custom ISO files, and Windows |
| 2 — Packages (the resource plans) | Make a plan you can sell |
| 3 — Make a user, and extRelationId | Join a customer to the id in your own system |
| 4 — Make a server, and build it | Why the work happens in two steps |
| 5 — The daily server tasks | Power, rebuild, passwords, and traffic |
| 6 — Migration: hybrid and live | Which server moves to another node, and how |
| 7 — Elevate: a test without the risk | Change a server, then commit or discard |
| 8 — Backup Manager (v7) | Set up incremental, encrypted backups |
| 9 — User backups and disaster recovery | Customer backups, and what to do when a node fails |
| 10 — Import an old KVM server | Move a VM in by hand from another panel |
| 11 — Mailouts, localization, and traffic | Send notices, choose a language, and count bandwidth |
Lesson 1 — OS templates and media#
Bro, what is this? Ok so basically: a template is a prepared OS image. Customer picks "Ubuntu 24.04", VirtFusion copies the template, and cloud-init writes in the hostname, IP, password and SSH key. No cloud-init inside the image and none of that gets written.
In plain words#
A template is a prepared OS image. When the customer chooses "Ubuntu 24.04", VirtFusion copies that template. Then cloud-init writes the hostname, the IP, the password, and the SSH key into it.
Templates are managed at Media → Templates. You can arrange them in groups, such as Linux, Windows, and Panels.
What to remember#
| Item | Reason |
|---|---|
| cloud-init must be present | Without it, the IP and the password are not written |
| Keep the QEMU guest agent | It gives the internal IP, a clean shutdown, and a file system freeze |
| Keep the template small | The clone is faster, and it saves disk space |
| Update it regularly | The customer then does not pull 100 patches at the first boot |
Custom ISO files#
A customer can install from their own ISO. VirtFusion streams the ISO from a remote server, and you give only the URL of the ISO. Host a large ISO in advance.
Your own icons#
You can add up to 20 of your own icons, or logos. Keep them in /opt/virtfusion/app/control/public/img/logo. This helps if you have an OS image with your own brand.
Windows templates#
Windows needs separate attention:
- The VirtIO drivers must already be in the template.
- Cloudbase-Init, which is cloud-init for Windows, must be installed.
- Performance is much better with Hyper-V enlightenments turned on.
The Cloudbase-Init log is at C:\Program Files\Cloudbase Solutions\Cloudbase-Init\log\cloudbase-init.
Lesson 2 — Packages (the resource plans)#
Bro, what is this? Ok so basically: a package is the thing you actually sell — vCPU, RAM, disk, traffic. Every server is built from one. Get the numbers right here and the rest of the panel mostly takes care of itself.
In plain words#
A package is your sales plan: the vCPU, the RAM, the disk, and the traffic. A server is always made from a package.
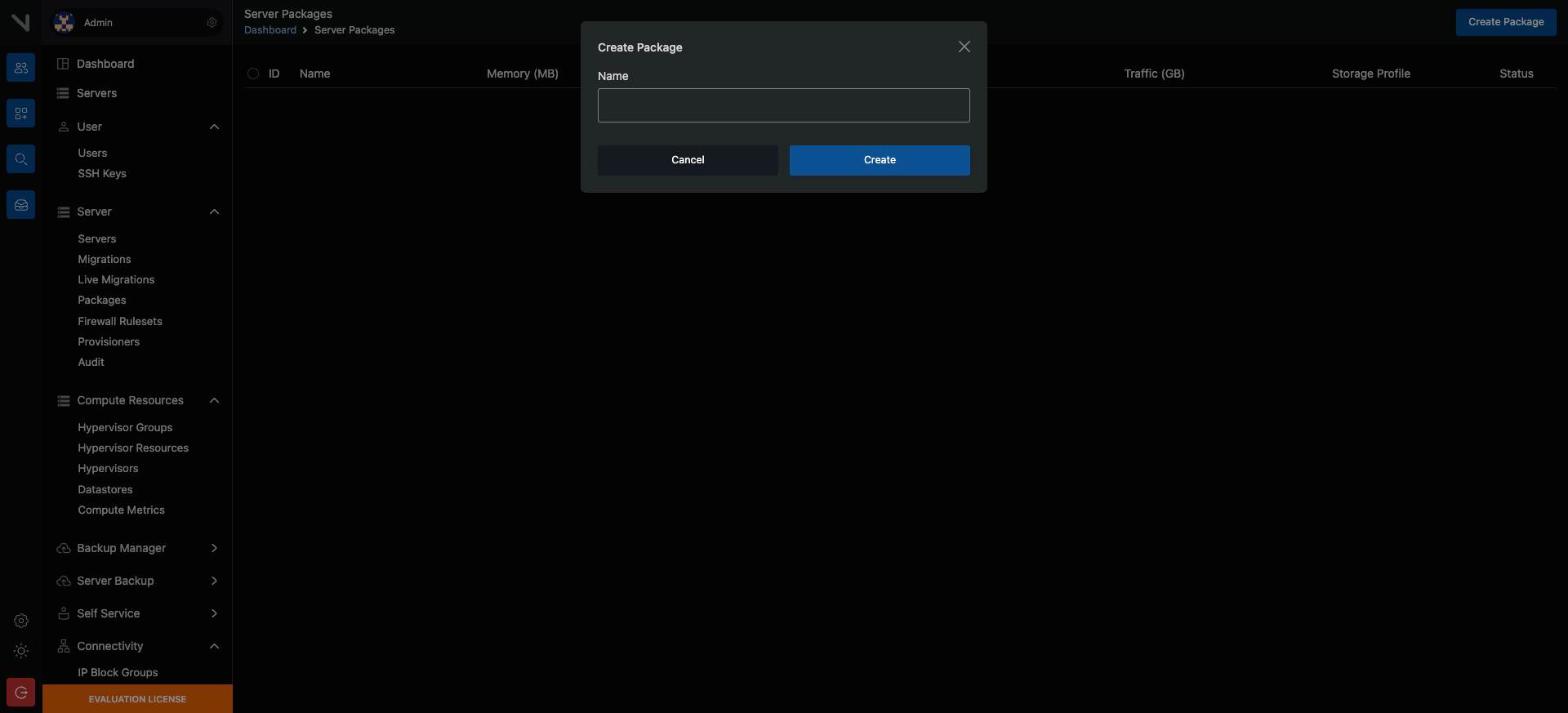
Go to Admin → Packages → Create.
What a package holds#
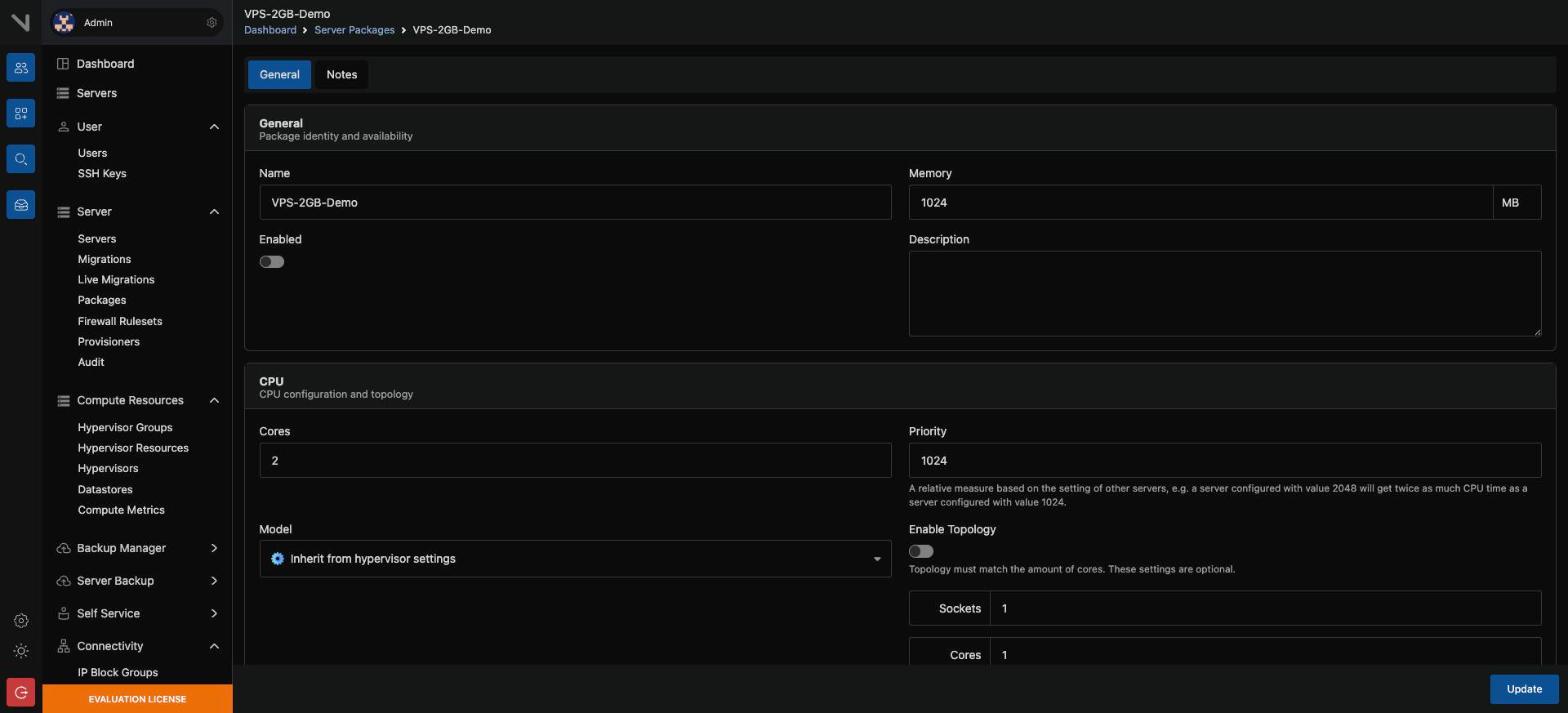
| Field | Comment |
|---|---|
| CPU cores | The number of vCPU |
| CPU throttle | A CPU limit as a percentage, to control oversell |
| Memory | The RAM, in MB |
| Storage | The first disk, in GB |
| Traffic | The monthly bandwidth in GB. 0 means no limit |
| Network speed | The inbound and outbound speed limits |
| IPv4 count | How many IPv4 addresses are attached |
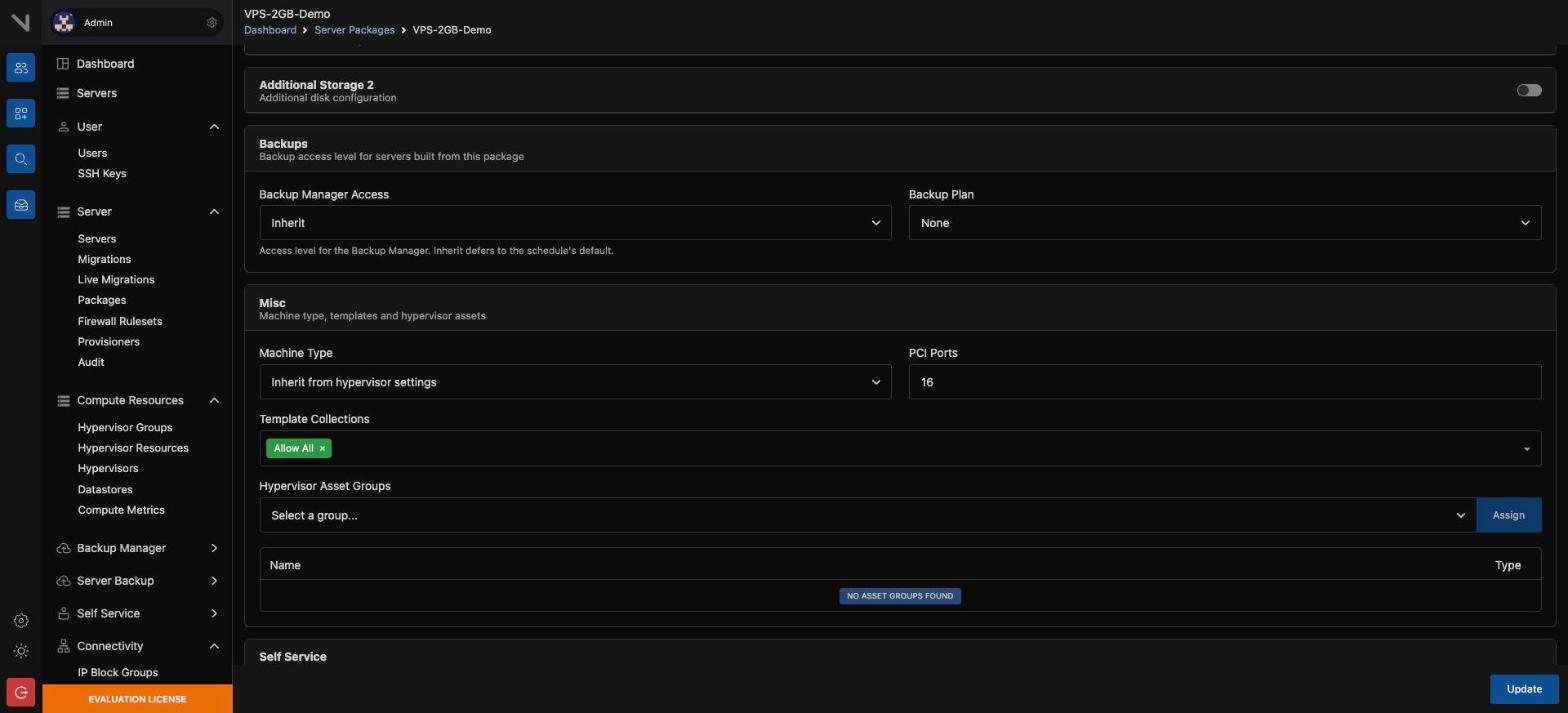
| Backup plan | The backup plan that is attached |
| Asset group | Assets such as a GPU |
Practical advice#
- Put the resources in the package name, such as
VPS-2C-4G-80N. It is then
easy to match in the billing system.
- The billing module needs the package ID, not the name. Write the ID
down.
- Control oversell with the CPU throttle. One customer then cannot take the
whole node.
Lesson 3 — Make a user, and extRelationId#
Bro, what is this? Ok so basically: every customer gets one VirtFusion user, and you stamp your own database id onto it as
extRelationId. Do that and you can always find them again from your side. Do not use the VirtFusion id as your primary key.
In plain words#
Each customer gets one VirtFusion user. The billing system, or your own application, makes this user and puts its own id into the extRelationId.
users.id in your application = 4821
        │
        ▼
VirtFusion user (extRelationId = 4821, its own id = 93)
To find that user later, your own id is enough:
GET /api/v1/users/4821/byExtRelationThe rules#
- One VirtFusion user for each customer, and no more.
- Set the
extRelationIdonce, then do not change it. - If you make a user by hand, do not forget the
extRelationId. Without it
the SSO login fails.
CAUTION: In the WHMCS module, the error "Oops! Something went wrong" usually has three causes. One, HTTPS is not correct. Two, a customer login was attempted with a VirtFusion administrator account. Three, a user made by hand has no extRelationId mapping.
Lesson 4 — Make a server, and build it#
Bro, what is this? Ok so basically: making a server is two steps, not one. Create reserves the resources and the IP. Build actually installs the OS. The panel hides the seam so it looks like one button, but the API makes you call both — and that trips people up constantly.
The two steps#
A server is made in two steps. If you do not know this, the API is confusing.
| Step | What happens |
|---|---|
| 1. Create | The server record is made, and the resources and the IP are allocated. No OS is installed |
| 2. Build | The template is copied, cloud-init runs, and the VM starts |
In the panel the two steps look like one. In the API they are separate calls: POST /servers, and then POST /servers/{id}/build. Phase 5 gives the detail.
What you give at build time#
- The OS template
- The hostname
- The root password, or the SSH key of the customer
- A provisioner script, if you want one
Provisioners#
A provisioner is a script that runs at the first boot. It can be bash, python, PowerShell, or cloud-init YAML.
- Make the script at Server → Provisioners.
- Attach it to a template at Media → Templates.
- A server built from that template runs the script by itself.
The server variables, such as the hostname and the IP, can be injected into the script.
Provisioners are useful to install a firewall, add a monitoring agent, set your own SSH banner, or install a panel.
To debug: if the script fails, look inside the server at /var/log/cloud-init.log and /var/log/cloud-init-output.log.
Lesson 5 — The daily server tasks#
Bro, what is this? Ok so basically: this is the day job. Start, stop, rebuild, resize, reset a password, suspend the ones who did not pay. Everything here you can do from the panel or the API, and rebuild erases the disk, so mind that one.
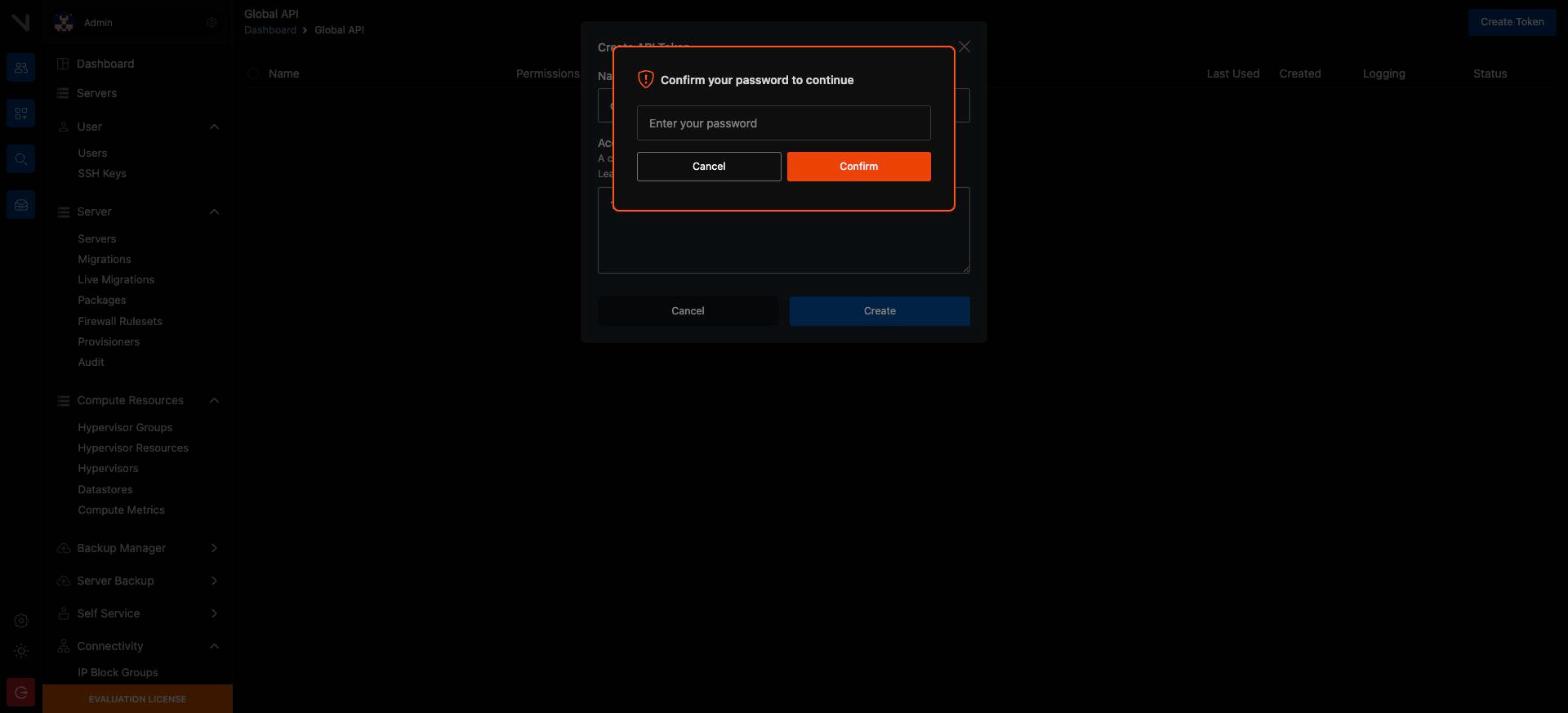
The task list#
| Task | Where, or how |
|---|---|
| Start, stop, reboot | The panel, or the API at /servers/{id}/power/{action} |
| Rebuild (install the OS again) | Run Build again. The disk is erased |
| Resize | The CPU, the RAM, and the traffic can each be changed |
| Reset the root password | The panel, or the API at /servers/{id}/resetPassword |
| Suspend and unsuspend | Suspend an unpaid server. The disk stays, the server stops |
| See the traffic | The monthly count for each server |
| Delete | The resources and the IP come back |
Stop an accidental delete#
Turn "do not disturb" on for an important server:
vfcli-ctrl server:dnd enable SERVER_ID
vfcli-ctrl server:dnd disable SERVER_ID
See the last password#
vfcli-ctrl server:password show SERVER_IDReset the traffic count#
vfcli-ctrl server:traffic-statistics reset-all
vfcli-ctrl server:traffic-statistics reset-all --include-datastore
CAUTION: Do not use
--include-datastoreunless you must. It also deletes the old traffic history. You then have no evidence in a billing dispute.
Where the settings live#
Settings in the sidebar holds six tabs. This table gives what each one controls, so that you do not open all six to find one field.
| Tab | What it controls |
|---|---|
| General | The company name, the links shown to customers, the captcha, maintenance mode, and the language |
| The mail transport and the sender | |
| Look & Feel | The theme, the logo, and the colors |
| Virtualization | The defaults for new servers |
| Security | Admin IP Restrict (read only, see below) |
| Other | The websocket ports and paths for the system and for VNC |
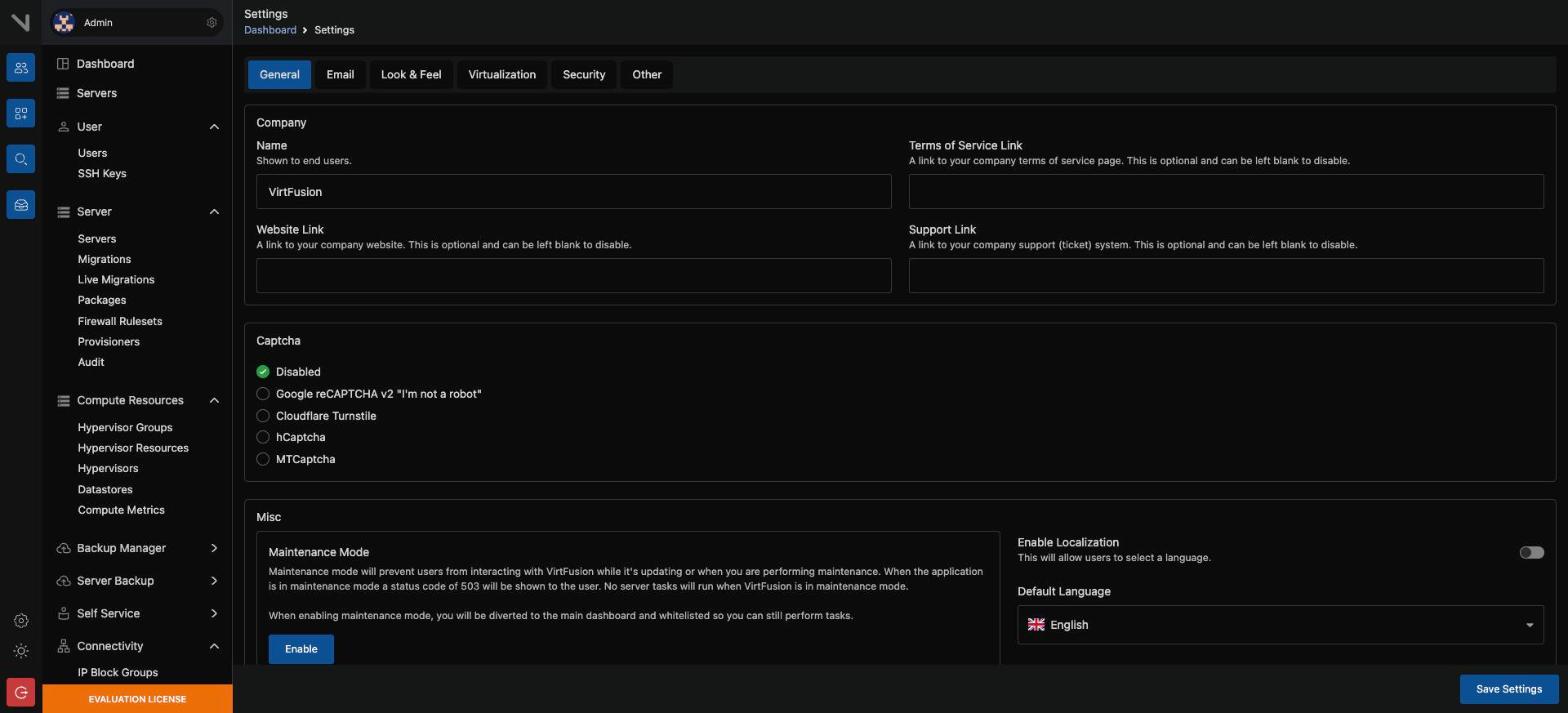
Note: Captcha is off by default. VirtFusion supports Google reCAPTCHA v2, Cloudflare Turnstile, hCaptcha, and MTCaptcha.
Admin IP Restrict is CLI only#
The Security tab gives the current state and the addresses, but you cannot change them there. VirtFusion does this on purpose, so that a stolen browser session cannot open the admin area to a new address.
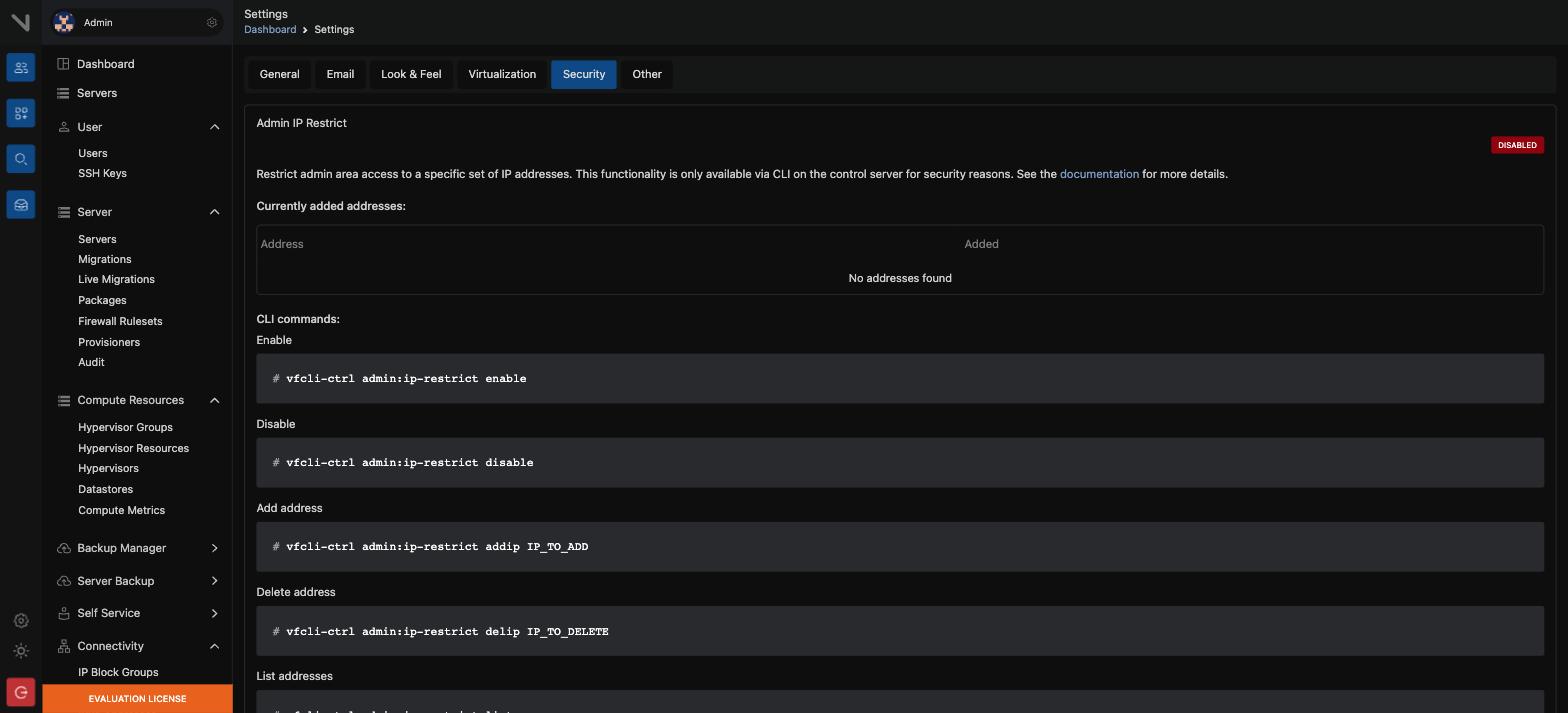
WARNING: Add your own address before you turn the restriction on. In the other order you lock yourself out of the admin area.
Lesson 6 — Migration: hybrid and live#
Bro, what is this? Ok so basically: two ways to move a VM to another node. Hybrid works whether the server is up or down and takes a short outage. Live moves it while it runs, but the CPUs have to match and you start it from the CLI.
The two kinds#
| Kind | How it works | Where you start it |
|---|---|---|
| Hybrid | It works with the server started or stopped. If the server runs, the disk moves in two steps: first while it runs, then the rest after a suspend | The control panel (UI) |
| Live | The live migration of libvirt and QEMU, on local or Ceph storage | The CLI of the control server. The log appears in the panel |
The conditions for a live migration#
- The server is online, suspended, or awaiting setup. If it is offline, use
--force-offline.
- SSH for root is on at the destination node, on the correct port.
- Every IP of the server is valid at the destination node. If not, the network
dies.
- The storage mount points exist at the destination, and all storage runs.
- The CPUs of the source and the destination are from the same vendor.
The documentation advises this: keep the two hypervisors as identical as you can, the OS version and the libvirt and QEMU versions included.
CAUTION: A server with a NAT interface still goes through no migration of either kind. Nor does a server that holds an asset such as a GPU.
A hybrid migration that is stuck#
Go to Server → Migrations. Open the log of the stuck migration. Copy the first command in the Commands part, and run it over SSH on the control server.
Lesson 7 — Elevate: a test without the risk#
Bro, what is this? Ok so basically: Elevate is your undo button. Make the risky change, test it, then either commit it or throw it away and the server snaps back to how it was. It is the closest thing VirtFusion has to a Proxmox snapshot.
In plain words#
Elevate, from version 4.1, lets you make temporary changes to a server. Later you either commit them or discard them.
- Choose the drive to elevate.
- Make the changes on the server, and test them.
- If the result is good, commit each drive. If it is not, discard. The server
returns to its condition at the moment of the elevate.
Elevate is useful for a large upgrade, a kernel change, or a risky configuration test. It is the nearest thing to a Proxmox snapshot.
Lesson 8 — Backup Manager (v7)#
Bro, what is this? Ok so basically: version 7 replaced the backup system entirely. It is incremental and encrypted, and it can write to several kinds of storage. Full is the base of the chain, incremental is the cheap daily one.
In plain words#
Version 7.x brought a completely new backup system. It is incremental and encrypted, and it has more than one storage backend.
The backup kinds#
| Kind | What it takes |
|---|---|
| Full | The whole disk image. It is the base of the chain |
| Incremental | The blocks that changed after the last backup. The smallest and the fastest |
| Differential | Every block that changed after the last full backup |
| Copy | A separate full backup. It does not affect the chain |
The system manages the chain itself. After a set interval, 7 days by default, it starts a new chain.
The storage backends#
- SSH and SFTP
- S3-compatible (AWS, MinIO, Wasabi, Cloudflare R2, Backblaze B2)
- Proxmox Backup Server (PBS), with deduplication at chunk level
- FTP and FTPS
- Rclone
The setup#
- Backup Manager → Storage — give the connection details of the backend.
- Schedule — join the storage to a hypervisor, and set the interval.
- The first backup is always full. After that it runs at the set interval.
Retention#
| Policy | How it works |
|---|---|
| Age-based | Keeps everything inside a set time and removes the older ones. The range is 1 week to 10 years |
| GFS | Keeps one for each day, week, month, and year. It needs much less space |
You can join "Keep Last N" to either policy. The last N backups then stay, whatever their age.
Restore#
From the administrator interface you choose the disk, the chain, and the restore point. You can also restore to another server, which is called a cross-server restore.
Note: The target server stops during a restore. When the work is finished, it does not start by itself. This is deliberate, so that you can correct the configuration before it starts.
Lesson 9 — User backups and disaster recovery#
Bro, what is this? Ok so basically: this is the customer taking their own backups, plus your plan for when a whole node dies. Three bits of setup — storage, an SSH user on the backup box, and a plan attached to a package.
Backups at user level#
A customer can take their own backups, on demand or at a set time.
The setup has three steps:
- Backups → Backup Storage — add the storage, and choose the hypervisor
that uses it.
- On the remote backup server: make a Unix user, put the public SSH key of
VirtFusion into authorized_keys, and install rsync.
- Backups → Server Backup Plan — make the plan, and give it to a package
or to a named server.
The customer then sees the options in the "Backups" tab of their server.
The error "Failed to login on the SSH2 check" means a connection or firewall problem between the control server, the hypervisor, and the backup server.
Disaster recovery (at hypervisor level)#
vfcli-hv dr exists so that you can recover when a whole node fails.
vfcli-hv dr:backup                          # everything
vfcli-hv dr:backup --only-servers=1754,1253 # named servers
vfcli-hv dr:backup --exclude-system-data # the server disks only- The storage is S3-compatible, or a local partition.
- For S3, install the AWS CLI and keep a profile named
virtfusionin
/root/.aws/config.
- The configuration file is
/home/vf-data/conf/dr.json, for compression and
retention.
- Run it regularly with cron.
To replace a node, do these four steps:
- Install VirtFusion on the new hardware.
- Give it access to the backup.
- Attach it to the control server.
- Restore the system files and the servers.
Limit: DR takes the local disks only. Shared storage such as Ceph is left out.
The backup of the control server#
This is the part that gets the least attention. Without a backup of the database and the encryption key of the control server, you cannot recover the panel, even when every hypervisor is alive.
The "System Backup" guide of VirtFusion shows this process. Run it regularly, and keep the result on another machine.
Lesson 10 — Import an old KVM server#
Bro, what is this? Ok so basically: you can bring a VM in from SolusVM or Virtualizor, but there is no import tool. You do it by hand, every time. Stop it, convert the disk, put cloud-init and the guest agent inside, then drop it in place.
In plain words#
You can bring a VM into VirtFusion from another panel, such as SolusVM or Virtualizor. But you do the whole task by hand. There is no automatic import tool.
The steps#
- Stop the server. Every disk operation must happen offline.
- Prepare the disk. For LVM, convert it to an image with
qemu-img.
VirtFusion uses qcow2 by default, and raw also works.
- Install cloud-init and the QEMU guest agent inside it. Without them
VirtFusion cannot fully control the server.
- Clean the network configuration. On Debian, keep only
source /etc/network/interfaces.d/* in /etc/network/interfaces, so that cloud-init can take control.
- Make a server of the same size in VirtFusion, and install a similar OS.
- Move the prepared disk to the hypervisor, with the correct name:
[UUID]_[DISK_ID].img.
Lesson 11 — Mailouts, localization, and traffic#
Bro, what is this? Ok so basically: three loose ends. Mailouts tell customers before you reboot a node, which is just professional. Localization gives them the panel in their own language. And traffic accounting is what you bill on, so decide now what happens when someone goes over.
Mailouts#
Use Mailouts to send a maintenance notice or an announcement to every customer. To tell people before a node reboot or network work is professional.
Localization#
The panel can appear in more than one language. If you have customers who speak Bangla, look at the language list.
Traffic accounting#
- The monthly bandwidth is counted for each server.
- You can set a limit in the package. Decide the policy for a server that
passes the limit: reduce its speed, or suspend it.
- If you change the creation date of a server, its monthly history is
deleted:
vfcli-ctrl server:creation-date SERVER_ID '2026-08-01 00:00:00'At the end of phase 4 you can#
- Manage templates and ISO files, and prepare a Windows template
- Make a package you can sell
- Keep the customer user and the extRelationId mapping correct
- Make a server, build it, and run a provisioner
- Use migration and Elevate
- Arrange backups, user backups, and disaster recovery
- Import an old KVM server